Acrylic is a popular material for signage, display products, and artistic projects—and with the right CNC router setup, cutting it can be fast, precise, and surprisingly easy.
But acrylic isn’t like wood or MDF. If you don’t follow the right process, it can melt, chip, or even bond back together after cutting. This guide will walk you through how to cut acrylic on a CNC router, step-by-step, to get clean, professional results every time.
Why Use a CNC Router for Acrylic Cutting?
A CNC router is a computer-controlled cutting machine capable of carving, engraving, and shaping a variety of materials, including acrylic, wood, plastic, foam, and soft metals. Compared to hand tools, CNC routers offer:
-
High precision and consistency
-
Faster production times
-
Fewer material errors and rework
-
Cleaner, smoother edges
With the right bit, software, and cutting parameters, you can use your CNC router to create beautifully finished acrylic pieces with minimal post-processing.
1. Choose the Right Acrylic
Before you start cutting, decide what type of acrylic you’ll be working with:
✅ Cast Acrylic (Recommended)
-
Easier to cut and engrave
-
Less likely to melt or chip
-
Produces cleaner edges and better results
🚫 Extruded Acrylic
-
Less expensive
-
Prone to melting and chipping
-
Not ideal for engraving or detailed cuts
Clear acrylic is also widely used for display items, art pieces, and signage because it's lightweight, strong, and visually appealing.
2. Pick the Right Bit
Choosing the right CNC bit is crucial for clean acrylic cuts.
🔹 Best for Cutting:
1/4" Solid Carbide O-Flute Bit
-
Designed for plastics and acrylic
-
Clears chips quickly to avoid melting
🔹 Best for Engraving or V-Carving:
60° V-Bit or Engraving Bit
-
Offers sharp, detailed edges
-
Ideal for logos, text, and designs
Make sure your bit is sharp and clean to prevent friction buildup that can cause melting.
3. Select the Right CNC Software
Your CNC software should support 2D, 2.5D, or 3D toolpaths and offer features such as:
-
Profiling
-
Pocketing
-
Drilling
-
Fluting
-
Texturing
-
Inlays
Popular programs include Vectric Aspire, Fusion 360, ArtCAM, and Mach3, many of which are compatible with Mingshi CNC routers.
4. Step-by-Step: How to Cut Acrylic on a CNC Router
✅ Step 1: Set the Feed Rate
-
Recommended feed rate: 75 – 300 IPM (inches per minute)
-
Larger bits = higher feed rate
-
Smaller bits = slower feed rate
Why? A faster feed rate helps prevent overheating and melting of acrylic.
✅ Step 2: Set the Spindle Speed (RPM)
-
Recommended spindle speed: ~18,000 RPM
-
This speed offers a good balance of clean cuts and minimal melting.
✅ Step 3: Set the Cutting Depth
-
Recommended depth per pass: ½ the diameter of your bit
(e.g., for a 1/4" bit, cut 1/8" per pass)
Why? Shallow cuts reduce tool strain and prevent breakage.
✅ Step 4: Use Ramping Instead of Plunging
-
Ramping in reduces stress on the bit and the material.
-
Select ramping settings in your CNC software to start cuts gradually.
✅ Step 5: Secure the Acrylic
-
Use vacuum tables, clamps, or double-sided tape.
-
Make sure the sheet doesn’t move or vibrate during cutting.
✅ Step 6: Start the Cut
Once your settings are dialed in and the material is secure, run the toolpath.
Tip: Always keep an eye on the cut at first to watch for signs of melting, chipping, or vibrations.
5. Post-Processing Acrylic
Once cutting is complete, acrylic edges often need finishing to look clean and professional.
🔸 Mechanical Polishing
-
Use a linen cloth with a fine polishing compound
-
Buff edges for a glass-like finish
🔸 Chemical Polishing (Advanced)
-
Involves using specialty gases or solvents to melt and smooth the edges
-
Common in high-end or large-batch production
🔸 Diamond Tool Polishing
-
Offers premium finish for clear acrylic edges
-
Often used in luxury signage or optical displays
🔧 Pro Tips to Avoid Acrylic Melting
-
Increase feed rate so the bit spends less time heating up one spot
-
Use compressed air or a coolant mister to keep the bit cool
-
Pre-chill the acrylic in a freezer to reduce starting temperature
-
Keep bits sharp and clean from melted plastic build-up
Final Thoughts
CNC routers are powerful tools for cutting acrylic, but success comes down to the right setup. From choosing the correct bit to dialing in the perfect feed rate, the details matter.
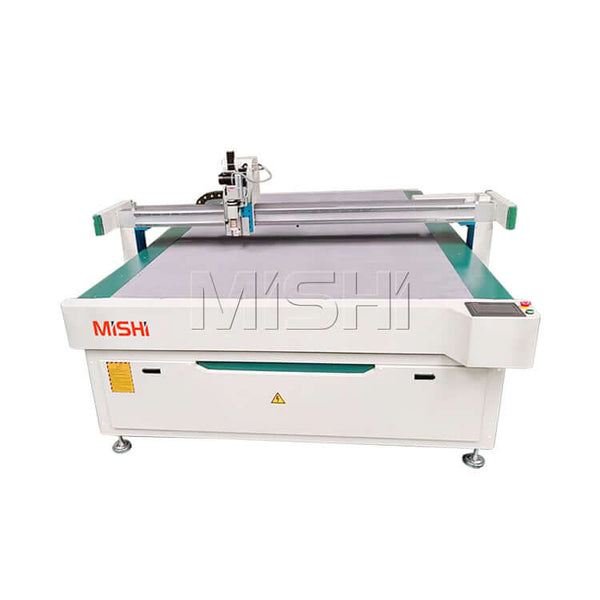
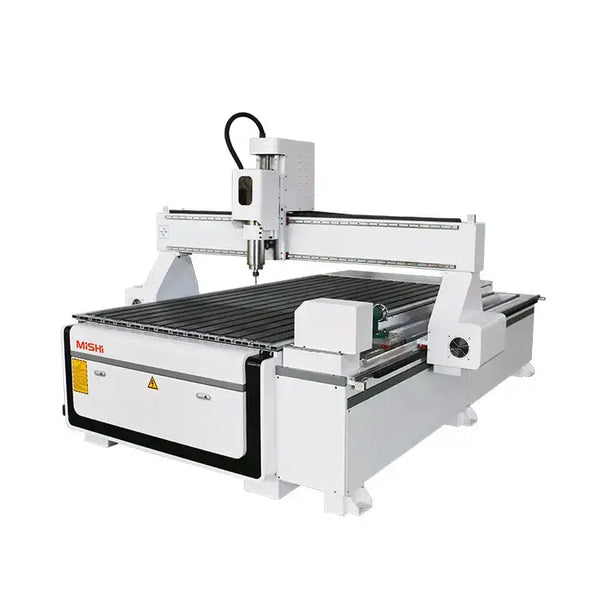
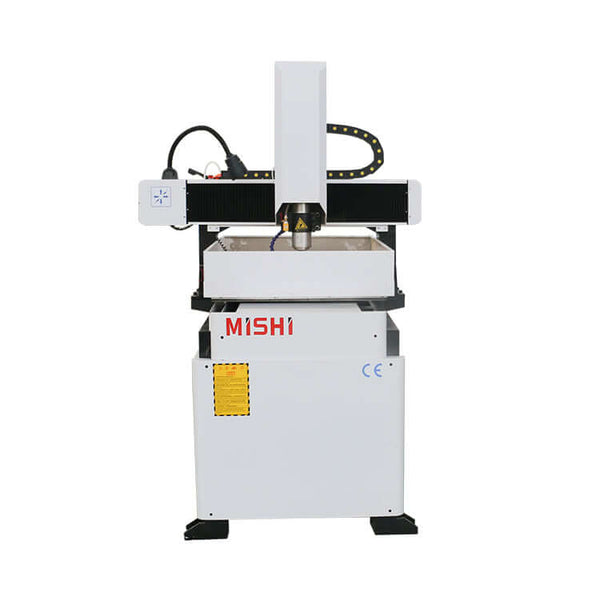
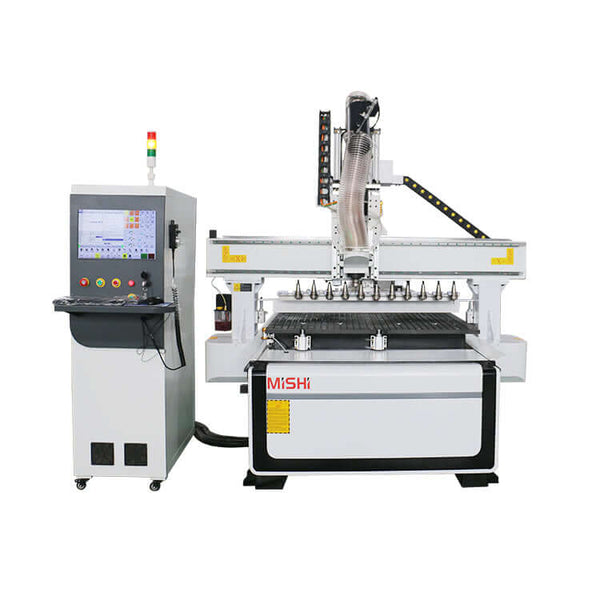
At Mingshi Machinery, we manufacture CNC routers engineered for both beginners and industrial users. Our machines are trusted for their stability, cutting precision, and compatibility with a wide range of materials, including acrylic, wood, and composite panels.
📞 Have questions about acrylic cutting or CNC router selection?
👉 Contact our team today for expert advice, machine recommendations, and free training resources. Let's bring your ideas to life with CNC precision.