Scalloped board edges are a timeless design element that adds elegance and sophistication to wooden projects. Whether you're enhancing furniture, crafting picture frames, or customizing cabinetry, a CNC router offers unmatched precision for this decorative technique. In this article, we’ll guide you through every step of creating beautiful, consistent scalloped edges using your CNC router.

I. What Is Scalloping a Board Edge?
Scalloping refers to carving a repeating pattern of curved indentations—resembling small waves or arcs—along the edges of a wooden board. This design brings a handcrafted charm while maintaining a clean, professional look.
With a CNC router, you can automate the scalloping process, ensuring perfect symmetry and depth every time, no matter how complex the pattern.
II. Tools and Materials You’ll Need
To get started, gather the following essentials:
-
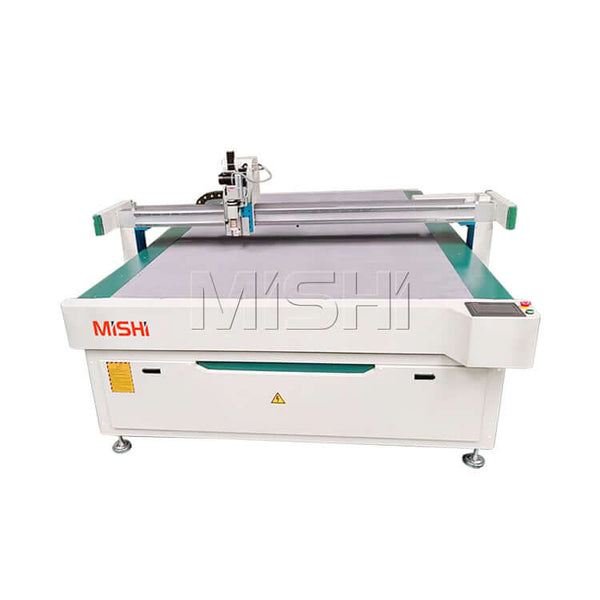
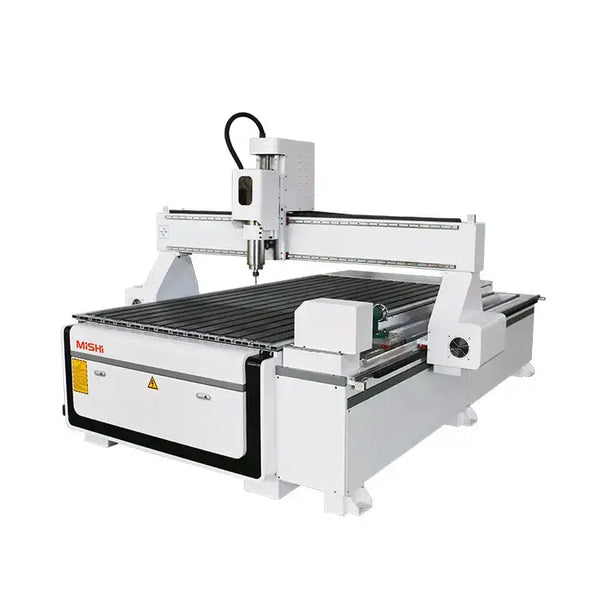
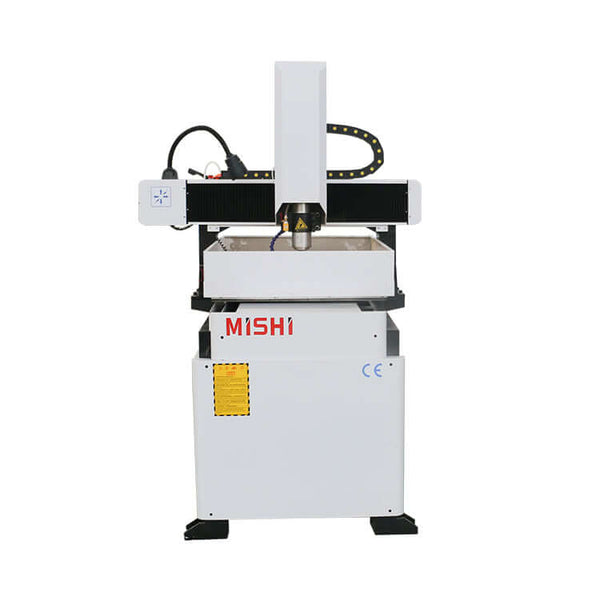
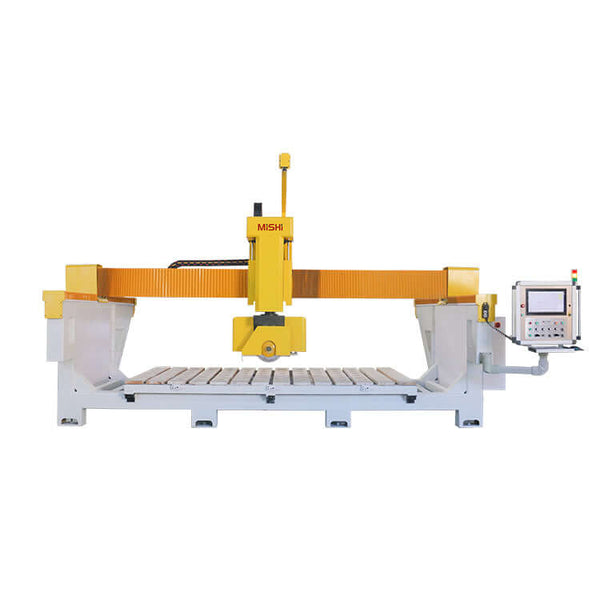
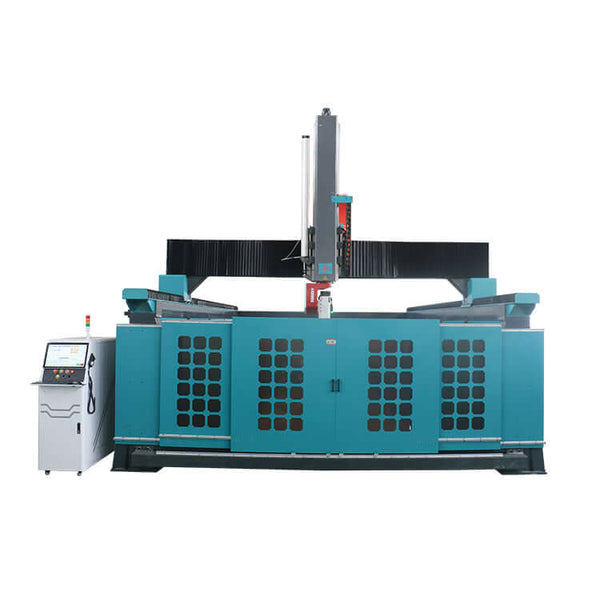
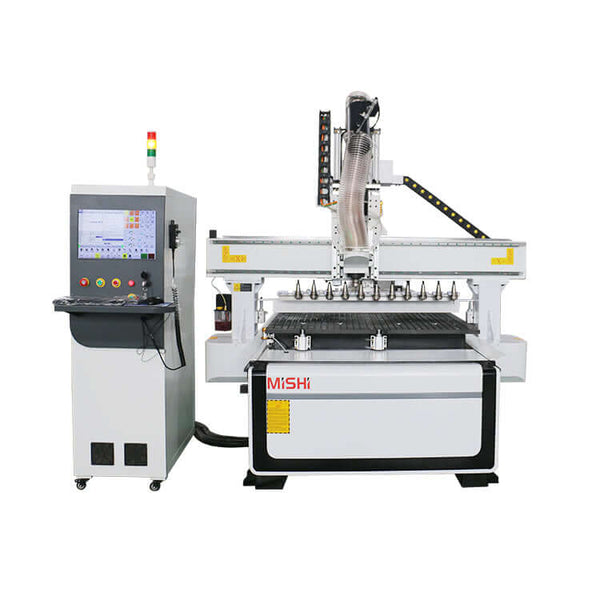
CNC Router: A reliable machine with accurate movement and sufficient spindle power.
-
Router Bits: A ball nose bit is ideal for creating smooth, rounded scallops.
-
Wood Boards: Choose a quality hardwood or softwood, depending on your project's style and durability needs.
-
CAD/CAM Software: Software like Vectric Aspire, Fusion 360, or SketchUp allows you to design and simulate the scalloped pattern.
-
Clamps and Fixtures: Secure your workpiece during cutting to prevent shifting.
-
Dust Collection and Safety Gear: CNC machining produces dust and noise—always wear safety goggles, ear protection, and a dust mask.
III. Designing the Scalloped Pattern
Here’s how to create an attractive, functional design:
-
Choose Your Software: Use CAD/CAM software compatible with your CNC machine.
-
Draw the Pattern: Sketch a single scallop and replicate it along the board’s edge using an array or pattern tool.
-
Refine the Details: Adjust the depth, width, and spacing of the scallops. Add bevels or chamfers for a more intricate design.
-
Simulate the Toolpath: Preview the cutting path in 3D to catch errors before machining.
-
Export the File: Save your design in G-code or another format your CNC router supports.
IV. Setting Up the CNC Router
Proper setup is essential for clean, precise scallops:
-
Calibrate the Machine: Ensure all axes are accurate and the machine is level.
-
Install the Router Bit: Mount the ball nose bit securely.
-
Secure the Workpiece: Use clamps or a vacuum table to fix the board in place.
-
Set the Origin: Define the X, Y, and Z zero points.
-
Load Your File: Import the toolpath and double-check your settings.
V. Machining the Scalloped Edge
Now, it’s time to bring your design to life:
-
Run a Preview: Watch the toolpath simulate on your control panel.
-
Start Cutting: Begin the job, monitoring closely for issues.
-
Adjust As Needed: You may need to tweak feed rates depending on the wood species or bit wear.
-
Post-Processing: Lightly sand the edges and apply your desired finish (stain, paint, or sealant) to enhance the appearance.
VI. Common Troubleshooting Tips
| Problem | Solution |
|---|---|
| Scallops too shallow or deep | Recheck depth settings and toolpath parameters |
| Rough edges | Replace dull bits and secure the board better |
| Misalignment | Realign your material and check your machine origin |
| Bit breakage | Use proper feeds and speeds, and check for tool collisions |
VII. Maintenance Tips for Long-Term Performance
Regular care extends the life and precision of your CNC router:
-
Clean the Machine: Remove dust buildup frequently.
-
Lubricate Moving Parts: Keep bearings and slides smooth.
-
Inspect for Wear: Look out for loose belts or worn components.
-
Update Software: Stay current with the latest software versions for reliability and new features.
VIII. Real Customer Success Story: Mingshi Machinery Client Spotlight
One of Mingshi Machinery's long-time customers, a custom furniture workshop in Australia, shared how using our CNC router to scallop the edges of their handcrafted dining tables significantly boosted their business.
“With Mingshi’s CNC router, we achieved edge details that used to take hours by hand—in just minutes! Our clients love the elegant scalloped finish, and we’ve doubled our productivity.”
This real-world example shows how efficient and high-quality scalloped edges can elevate your craftsmanship and business success.
IX. Creative Ideas for Scalloped Edges
Let your creativity flow with these ideas:
-
Furniture: Add scalloped accents to tabletops, headboards, or drawer faces.
-
Picture Frames: Create charming vintage or rustic-style frames.
-
Signs and Home Decor: Use scalloped borders for nameplates, welcome signs, and plaques.
-
Architectural Trim: Apply scalloped edges to crown molding, baseboards, or wainscoting for classic flair.
Conclusion
Scalloping board edges with a CNC router unlocks a world of creative and commercial possibilities. With the right tools, design, and setup, you can achieve professional-quality results that stand out. Whether you're a hobbyist or a business owner, this technique is sure to elevate your woodworking projects.