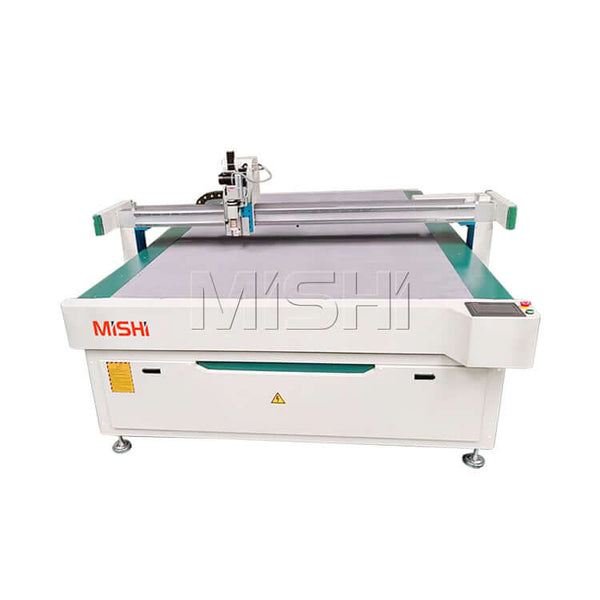
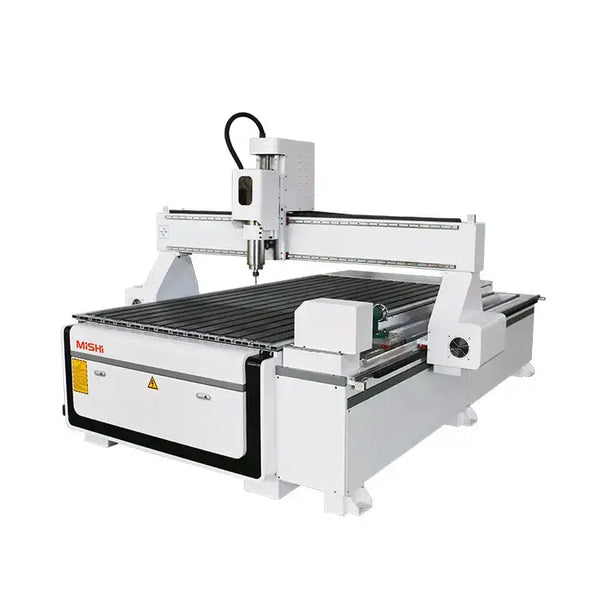
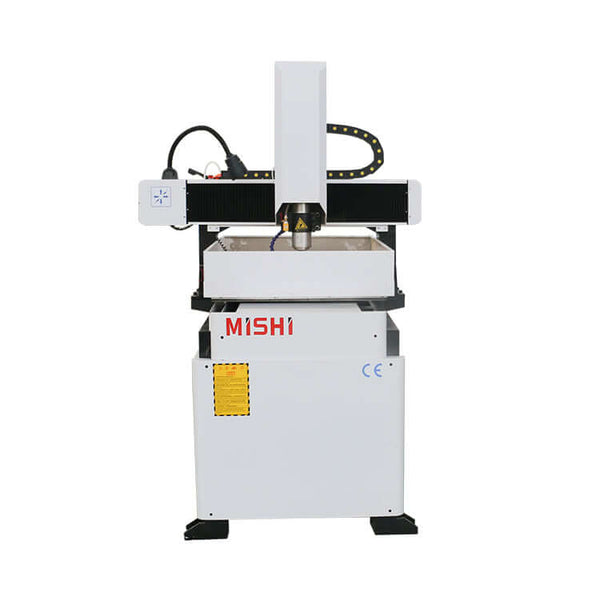
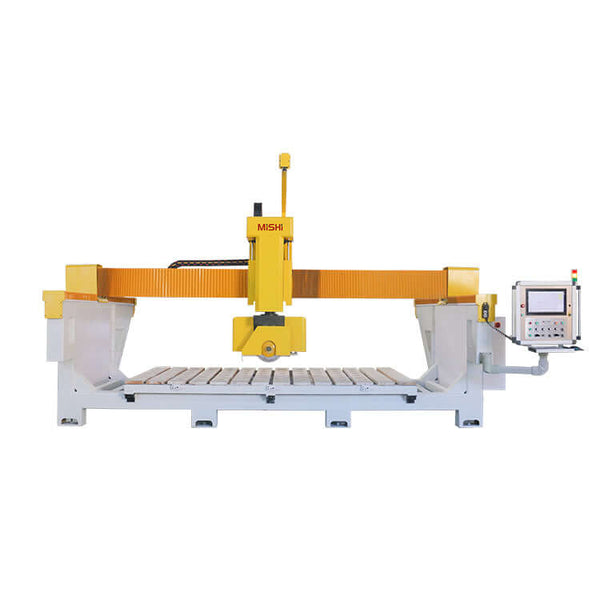
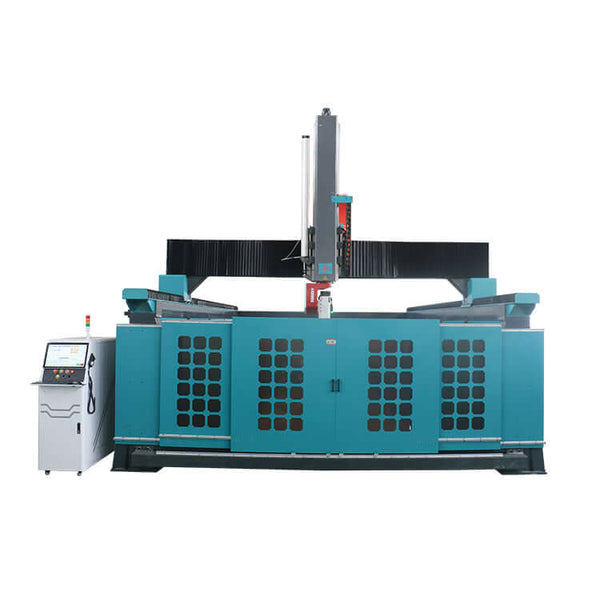
Using a CNC wood router can significantly speed up woodworking projects while ensuring precision. However, like any machine, it comes with its own set of challenges. Wood materials vary in grain, hardness, and moisture content, leading to common machining issues that can affect your final product.
In this guide, we’ll explore five frequent CNC wood routing problems and practical solutions to help you achieve cleaner cuts, minimize errors, and optimize your CNC machine’s performance.
1. Tear-Out (Splintering Wood Grain)
Tear-out occurs when the wood grain splinters or fractures during cutting, resulting in rough and uneven edges. This is especially common in softwoods or highly figured woods.
Solutions:
✅ Use Ramp and Slow-Cut Entry: Instead of plunging the bit directly into the material, ramp it in at an angle and reduce speed upon entry. This reduces stress on both the tool and the wood.
✅ Choose Straight Flute Bits: Spiral bits tend to pull up on the wood, increasing the chance of tear-out. Instead, opt for straight flute bits that cut cleanly without excessive grain lifting.
✅ Implement Scoring Cuts: Before making a deep cut, lightly score the surface with a knife or CNC tool. This helps to cleanly separate the fibers before cutting through.
✅ Apply Climb Cutting Technique: Instead of feeding the workpiece against the rotation of the router bit, feed it in the same direction (climb cutting). This reduces cutting force and minimizes splintering.
✅ Use a Backer Board: Place a scrap piece of wood behind your workpiece to support the material and prevent splintering at the edges.
2. Burn Marks on the Wood Surface
Burn marks appear when excessive heat builds up due to high friction between the bit and the wood. This can result from dull tools, slow feed rates, or incorrect speed settings.
Solutions:
✅ Start with the End Grain: Routing the end grain first helps dissipate heat and reduces burn marks when transitioning to the long grain.
✅ Reduce Depth of Cut: Instead of removing too much material in one pass, take multiple, lighter passes to reduce heat buildup.
✅ Adjust Feeds and Speeds: If burn marks appear, your spindle speed may be too high. Try reducing the RPM or increasing the feed rate so the bit moves through the material more quickly without excessive friction.
✅ Use Sharp, High-Quality Bits: Dull bits generate more friction and heat. Invest in carbide-tipped or solid carbide bits for longer life and better cutting efficiency.
3. Fuzzy Grain Finish (Rough, Fibrous Edges)
Fuzzy grain occurs when fine wood fibers remain attached after cutting, creating a rough finish. This is often due to improper tool settings or using softwood materials like pine.
Solutions:
✅ Use Separate Rough and Finish Passes: Perform an initial rough cut to remove most of the material, then use a lighter finishing pass to clean up the surface.
✅ Make Multiple, Lighter Passes: Instead of cutting too deep in one go, reduce the depth of cut and increase the number of passes for a smoother result.
✅ Perform Shallower Cuts with Spiral Bits: If using helical bits, avoid deep cuts, as they tend to lift the grain. Shallower passes will prevent fiber pull-up.
✅ Optimize Feed Rate and Spindle Speed: If the feed rate is too slow, the bit grinds against the wood instead of cutting cleanly. Adjust speeds using a CNC feed rate calculator for optimal settings.
4. Chip Marks on the Workpiece
Chipping occurs when wood fragments break away from the cut, leaving small gouges on the surface. This is common when machining high-moisture wood or brittle materials.
Solutions:
✅ Use an Air Blast or Vacuum System: Clearing chips from the cutting area prevents them from getting trapped and causing defects.
✅ Apply a Protective Coating: A light coat of polyurethane, varnish, or paint before cutting can strengthen the wood surface and reduce chipping.
✅ Use Masking Tape: Applying masking tape over the cutting area reinforces the fibers and minimizes breakage.
✅ Perform Controlled Plunge Cuts: Instead of cutting continuously, make incremental plunge cuts to reduce stress on the material.
5. Raised Grain (Uneven Surface Texture)
Raised grain happens when wood fibers aren’t cut cleanly but instead get pressed down. Later, moisture causes these fibers to swell and rise, creating a rough texture.
Solutions:
✅ Choose Hardwoods Over Softwoods: Hardwoods like oak, walnut, and maple are less prone to raised grain than softer woods like pine or fir.
✅ Use Sharp, High-Quality Tools: Dull tools tend to push wood fibers down instead of cutting them cleanly.
✅ Light Sanding After Machining: If raised grain occurs, a quick sanding pass with fine-grit sandpaper (220-320 grit) will smooth the surface.
✅ Minimize Moisture Absorption: Store your wood in a climate-controlled environment to reduce excessive humidity changes.
Bonus Tip: Use Proper CNC Power Supply
If your CNC machine runs on three-phase power, it will perform more smoothly with less vibration and heat buildup. However, many home workshops don’t have three-phase power.
Solution: Install a rotary phase converter to generate stable three-phase power, ensuring consistent performance for your CNC router.
Final Thoughts
By understanding these common CNC wood routing problems and applying the right solutions, you can significantly improve your machining accuracy, extend tool life, and reduce material waste.
Would you like to optimize your CNC router setup further? Contact Mingshi Machinery today for expert guidance and the best CNC router solutions for your woodworking projects!


